

Setting up my new toy (Raspberry Pi 4B, 8GB)
Laptops are the ultimate comfort machines. All you need to do is pick one up, personalize it a bit, install Google Chrome, connect it to your WiFi and you’re done. Is setting up the Raspberry Pi 4B as easy as pi? Let’s find out.
What variant of the Raspberry Pi do I need?
You can read all about the Raspberry Pi and its variants on the official Raspberry Pi website here.
Now, this is a good question. If you need more than 4GB of RAM, you only have one option – the Raspberry Pi 4B—8GB. If you are good with 4GB of RAM, you have two! The Raspberry Pi 4B 4GB has a serious contender at home—the Raspberry Pi 400!
Imagine a computer and a hard drive neatly stuffed into a keyboard that resembles a Commodore 64 from the 1980s. If you can imagine or Google it, you will understand what I mean. The Raspberry Pi 400 bundles a keyboard, a whole computer and space for storage into a form factor that is like a fat-ish keyboard. All you need is a monitor, a mouse and a power supply and you’re done.
I did not choose the Raspberry Pi 400 because it limits me to 4GB of RAM, and for some reason I wanted 8GB of RAM—plus the 400 was more expensive than the Raspberry Pi 4B-8GB and I already had a keyboard, a mouse and a monitor at home, so that’s that.
Back to setting up my new toy – required hardware
Just like any other desktop PC, the Raspberry Pi 4 needs some peripherals to get it up and running. These peripherals include:
1. A case for the Raspberry Pi 4B
I strongly recommend buying a case that has a fan and heatsinks to counter any heating issues that may occur with heavy usage. The basic plastic case costs around ₹150, and the one with heatsinks and a fan start around ₹700. There are fancier, more expensive cases available, but we will stick to a basic case with a fan, that cost me ₹400. Getting a case with a fan helps to keep the CPU temperature around 40-50 degrees C. Overheating (beyond 80 degrees) can slow down the pi (cause throttling). You can get this case from PiBox India or the official fan from Raspberry Pi. I am using the PiBox India case.

2. A power supply
Any high-powered mobile phone charger with a USB-C cable will do. I used an old Xiaomi Poco F1 charger I had lying around. The recommended output for the Raspberry Pi 4B is 5.1V, 3A. My mobile phone charger works just fine.
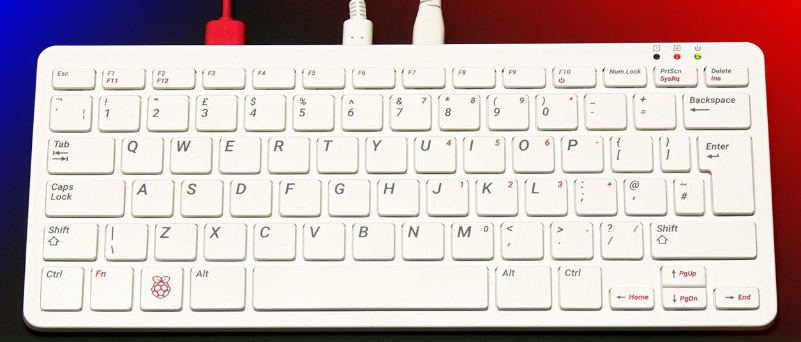
3. A keyboard and mouse
The one you have right now will do, as long as it is USB or has a USB dongle for wireless connectivity. I have a Dell WK118 wireless keyboard/mouse combo.
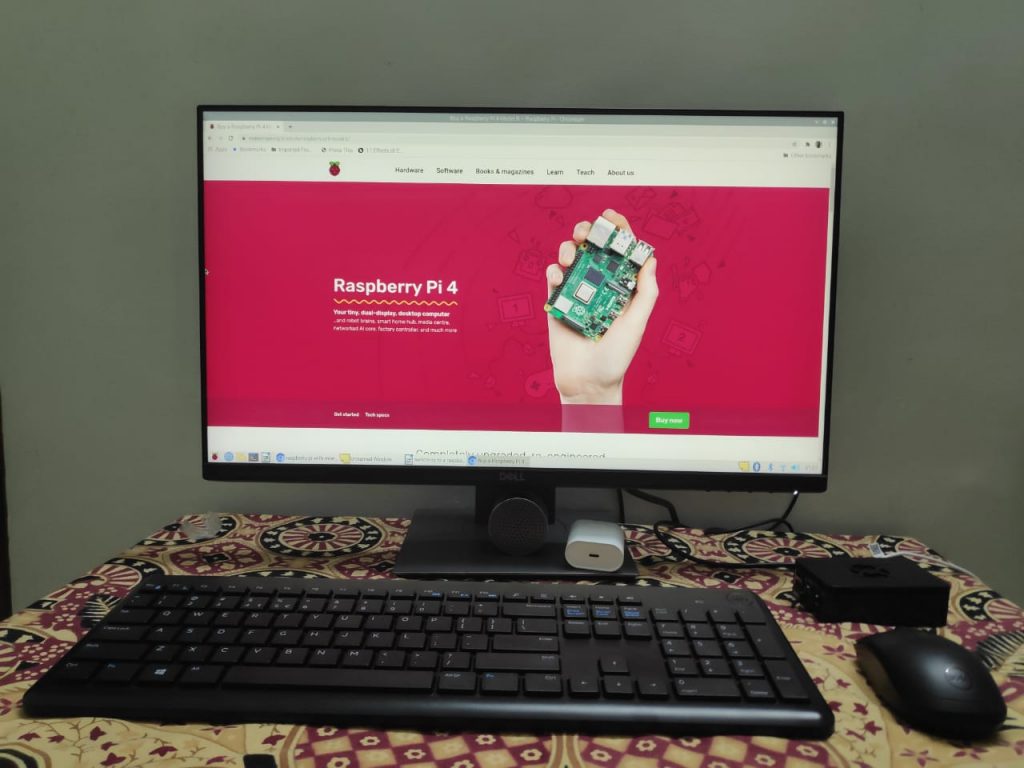
4. A monitor (display)
The one you have right now will do as long as it accepts HDMI input. The Raspberry Pi 4B only supports HDMI. I have a Dell P2419H and it is a fantastic monitor for its price. You can also use your old tablet, your mobile phone or any one of those funky options that are available for the Raspberry Pi 4.
Note: I used the USB port on my monitor to power my Raspberry Pi. While that is awesome, what I forgot was that I often switch off my monitor when not in use to conserve power. Using the USB port as a power supply will also power off your computer when you turn the monitor off—causing potential data loss. I lost 3 files that I was working on when I switched off the monitor out of habit. I now save and close the files before I get up from the desk. I have also set the monitor to go to idle in 10 minutes. This sometimes causes issues, but I think an external power supply is the best option.
5. Storage
An SD card and a card reader to install the OS on and boot the device
6. Optional
An external SSD or an internal SSD with a casing, for faster write speeds and high data storage options only.
Note: you will need to ensure that your Pi is running the latest firmware out of the box when you attempt to boot the Pi via USB. To check the firmware version, simply connect your pi to the monitor without an SD card. The post screen will show you the current version number. If the firmware version is 2020-08-20 or newer, you’re good to go. If your firmware version is older than 2020-08-20, follow the instructions here to update your firmware.
7. Speaker/Mic (Audio in/out)
It took a while to connect my Bluetooth speaker as a mic/speaker. This solution from Youness worked for me. Only one of the 3 speakers I had worked, but at least one did. To ensure that your speaker works, perform the following:
A. Install PulseAudio packages if not already installed:
sudo apt-get install pulseaudio pulseaudio-module-bluetooth
dpkg -l pulseaudio pulseaudio-module-bluetooth
B. Check for the HSP profile.
If you try to switch to headset_head_unit profile and use parecord to record your voice, it will not work. This is due to an incorrect audio routing of SCO. To correct that, use this command:
sudo hcitool cmd 0x3F 0x01C 0x01 0x02 0x00 0x01 0x01
If you get an error, just reboot and do this again.
C. If this works, try to record your voice by saying something:
parecord -v /tmp/voice.wav
Play it back:
paplay -v /tmp/voice.wav
If you hear your voice, huzzah! The Debian lords have blessed you with a working Bluetooth speaker and mic!
Note: This is a vendor-specific hexadecimal command, that changes the Broadcom (or Cypress) BCM43438 configuration.
Note: I am still trying to work on connecting the Bluetooth headset I have, which I still do not have any luck with.
8. Camera
I am still in the process of trying to set up the camera. My monitor has a slim bezel on the top, so I am trying to find an alternative camera that can “sit” on my desk instead of clamping on the bezel.
This will complete the basic setup of your device and you now start configuring the software for it. My next article will cover basic software configuration and how you can optimize the Pi for your daily use. Stay tuned!
Recent Comments